
The most important part of mastering any craft is the consistent pursuit of mastery.
Throwing is no different.
In this blog we will attempt to outline and understand how you can build a 7 day a week throwing plan that you can consistently execute upon and give you the results you are looking for in competition
Building a Foundation of Volume
When starting out any new workout plan, it is best if you start slowly and build up. Whenever I have new clients in the facility or new clients remotely they are always very excited and motivated to get started.
They want to tackle an entire high intensity throwing program in one session. The truth is, just like any habit, it is best practice to start small (HERE)
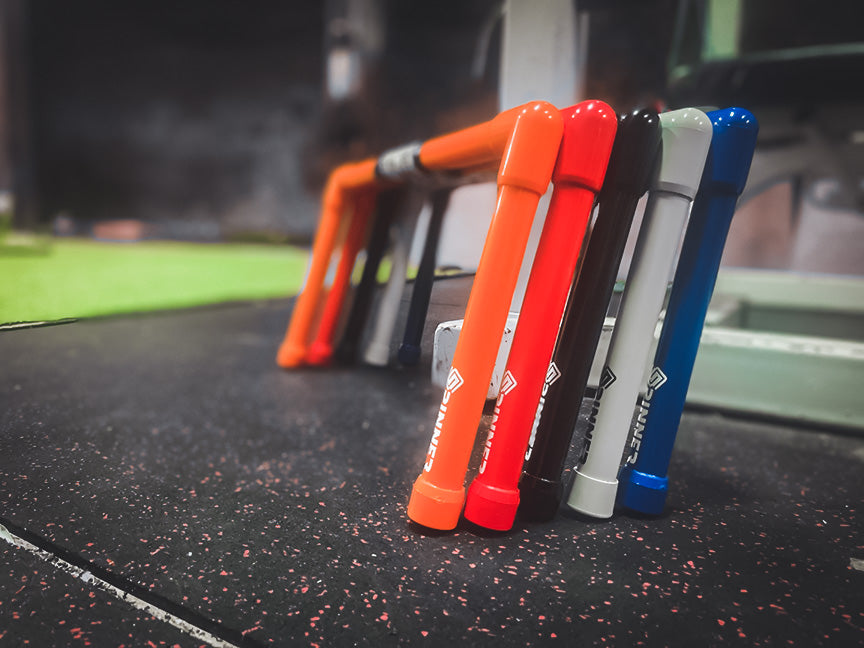
Establish your warm up routine first. Whether you are using bands, wrist weights, or Spinners, you need to start with a 3-5 minute warm up. This is step one in being able to build throwing days on top of each other over time, you have to stay healthy.

Next, start with 25 catch play throws then every 3 days add 5 throws and distance (arm speed) until you get to 75 long throws
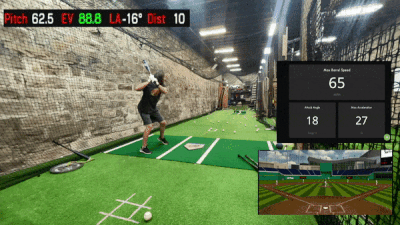
Using your Pulse Throw Workload monitor you should be able to track your arm speeds live. Assuming a peak arm speed around 900 (this varies per individual) You will want to be between 500-600 during this ramp up volume phase of your throwing program.
If you are doing Plyo throwing activities to build better self organized mechanics you will need to factor in these throws into your routine. I also recommend using the Overload set of Plyos starting out. This will allow you to throw at lower arm speeds while being able to maintain good sequencing to your throw.
Adding Intensity
Once you have established a good baseline of throwing volume, you will now want to build intensity into your throwing program. How much? How Hard? First let's understand RPE. RPE, or Rating of Perceived Exertion, is a subjective method used to measure the intensity of physical activity. It is based on an individual's perception of how hard they are working during exercise.
RPE is often measured using a scale from 0 to 10, with 0 indicating no exertion and 10 indicating maximum exertion. The scale is subjective and can vary from person to person, but it is a useful tool for individuals who want to monitor their exercise intensity
We can also use the live mode on your Pulse Sensor to accurately gauge arm speed to ensure we are throwing at the correct intensity, again so we can continue to throw over time
Trevor Bauer explains how to use RPE in designing your throwing program below
How I Design My Throwing Program
— Trevor Bauer (トレバー・バウアー) (@BauerOutage) February 23, 2023
BauerOutage merch available at https://t.co/4kMfEO77rP pic.twitter.com/duIZzGRvKj
Essentially, what we try to do with our athletes is the following:
- Never have more than 2 consecutive days above an 8 RPE. I understand sometimes you play on back to back days and this a requirement of competition and competing. You won't die if you do this but if we can we try to avoid if we can
- Over the course of 7 days we want to average out at a 5 RPE with at least 2 days of throwing (not consecutively) above an 8.
Following these two ideas and using a Pulse you can follow the below 7 day throwing outline:
Day 1: Volume - Overload Plyo activities - RPE 5/6 (arm speeds 500-600) - Goal 150-175 total throws
Day 2: Intensity - Underload Plyo activites- RPE 8+ (arm speeds 800+) - Goal 75 total throws
Day 3: Recovery - Overload Plyo activities - RPE 2/3 (arm speeds less than 500) - Goal 50 total throws
Day 4: Volume - Overload Plyo activities - RPE 5/6 (arm speeds 500-600) - Goal 150-175 total throws
Day 5: Max - Underload Plyo activities - RPE 9/10 (arm speeds max) - Goal 50 total throws (15-20 at max arm speeds)
Day 6: Recovery - Overload Plyo activities - RPE 2/3 (arm speeds less than 500) - Goal 50 total throws
Day 7: Off/Light Volume - Overload Plyo activities - RPE 5/6 (arm speeds 500-600) - Goal 75 total throws
At the end of the week you should arrive at an average RPE of 5. As always, listen to your arm. There's a difference in pain and soreness. The best medicine for soreness is often movement. If after movement, the pain gets worse and continues to linger, get it checked out by a profession.
Recovery and Rehab
A good throwing program builds in recovery and rehab methodology. Don't wait until you get hurt and go to physical therapy to add exercises that improve your shoulder health, facilitate blood flow, and improve your ability to train more often.
Some good examples but aren't limited to RebounderPad Exercises, forearm exercises, band exercises, isometric holds, stabilization carries and perturbations. Have a light recovery on your heavy throwing days as well as a heavier recovery/rehab exercises on those days for a good balance. After all you don't want to continue to pile on additional fatigue with a bunch of exercises after you've already taken on a heavy throwing workload
Conclusion
It doesn't matter what craft you choose. From Call of Duty to hitting to throwing. If you want to become a master of it, you need to consistently and deliberately attack the skill. In building your own throwing program you need to manage volume, intensity, and recovery so that you don't continuously pile up fatigue and it ultimately becomes detrimental to your development as a player.
Be Smart. Listen to Your Arm. Gather Information. Attack Consistently.
That's the plan.
Happy throwing